Creating, Displaying, and Editing Team Member Profiles

Each form on your website provides you with the ability for people to interact and submit information from the front-end, but there are some situations where the submitted information needs to be visible from the front-end and sometimes edited.
A common use for this is with user profile pages. Information that a user submitted 5 years ago can sometimes become invalid and in need of editing. Instead of digging through form entries inside the WordPress admin, allowing the user to directly edit their own entry is a far easier solution.
In this article, we’ll show you how to edit Gravity Forms entries from a page on the front of your website, and how to enable your users to edit their own entries without even granting them access to the WordPress dashboard!
The Scenario
You’re almost done with the website, and you’ve got everything done except the About Page. You want to show your team members, and you want them to be able to edit their information, but not have access to the Dashboard.
❌ You don’t need a big membership plugin.
❌ You don’t want to come up with some custom code.
☑️ You just want this to work, and be done.
By utilizing Gravity Forms in combination with the 3rd-party add-on GravityView this process is dramatically simplified and you’ll be ready to display and edit user-submitted form entries with ease.
Getting Started
I’m Zack, and I’m the creator of GravityView. GravityView makes it easy to display your Gravity Forms entries on your site. We have thousands of customers, each having their own requirements. In this article, I’ll walk you through how to display an entry and make it editable by the user who created it.
Creating a User Profile Form
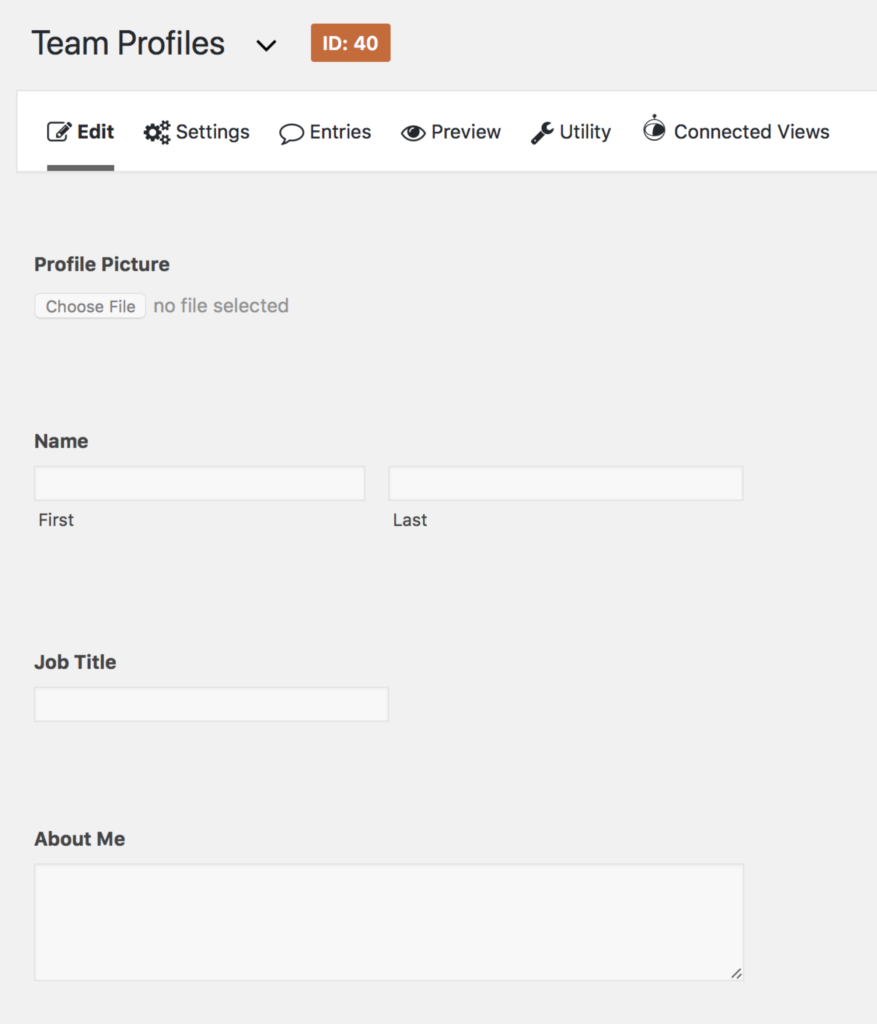
In Gravity Forms, we’ll create a form called “Team Profiles” that has a few fields:
- Name (Name field)
- Image (File Upload field)
- Job Title (Single Line Text field)
- About Me (Paragraph field)
Here’s what the form looks like:
Honestly, getting your co-workers to provide their details can be the hardest part! I don’t know what causes it—some sort of magnetic polarity, perhaps?—but it is always painful chasing down people to provide information. So, let’s be real: you’ll end up having to do this for most of them!

Asking coworkers “Can you let me know when you’ll have that bio ready?” leads to furtive behavior.
Powerful Entry Management with GravityView
Okay, so you’ve finally pestered your team to fill out the form with their profile details. Now what?
It’s time to install GravityView. GravityView has been helping people display Gravity Forms entries on their websites since 2014. Since GravityView is a 3rd-party add-on, you’ll need a separate license for it. If you don’t already have a copy of GravityView, jump over to the GravityView purchase page to purchase a license and join the thousands of happy customers who rely on GravityView every day.
Getting Started: Creating Your View
Once you have installed and activated GravityView, we’re going to take those entries submitted in the Team Profiles form, and then use GravityView to display the entries. To do that, we’re going to create a View.
Views are at the core of GravityView and allow you to determine which fields you want to display from a submission, and how you want to display them. Think of a View as an infinitely configurable way to display your entry data exactly how you want to.
Enough of the boring introduction; Let’s get started!
-
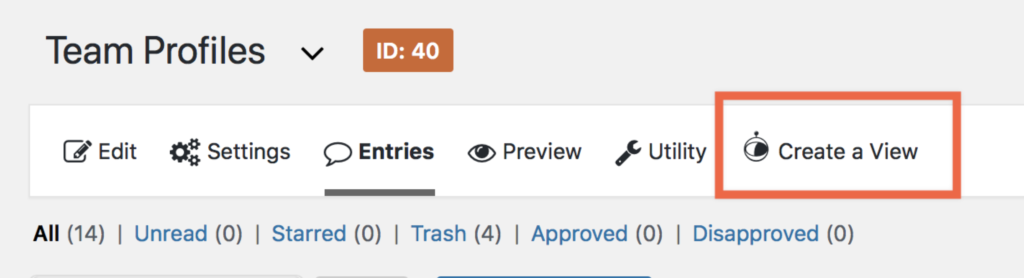
- From the Team Profiles form page, click Create a View.
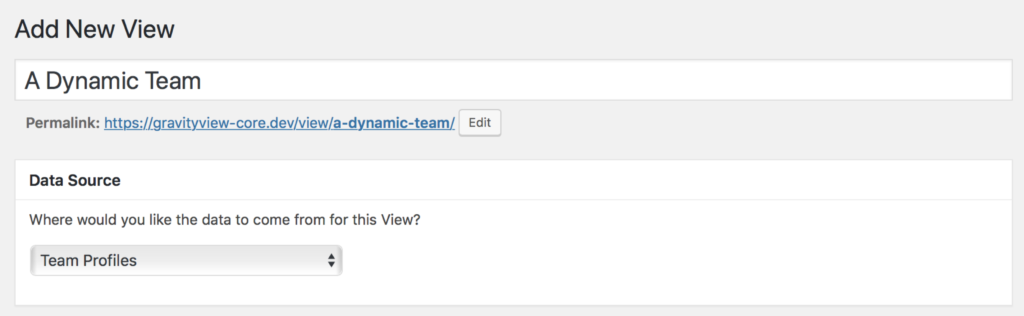
- Give the View a name
I titled this View “A Dynamic Team” because even though I’ve entered sample data, I think this team has potential. The “Data Source” setting is where we define the Gravity Forms form that will be the source of the entries we’re going to display. It is already set to the “Team Profiles” form.
- From the Team Profiles form page, click Create a View.
Choosing the Perfect View Type
Part of what makes GravityView so powerful is the ability to display the same entries in different layouts. You can choose from multiple default layouts, and additional layouts are available based on your GravityView license.
- A Table layout displays the entries in a table, similar to how Gravity Forms displays the entry data in the WordPress admin. That doesn’t have quite the feel I want for our team page, though.
- The List layout displays entries in a styled layout that looks great for people and business profiles, with placeholders for headings and images.
For the purpose of this example, we’re going to use the List layout. Of course, you can use any layout that fits your needs best.
Being Selective: Choosing Displayed Fields
The View Configuration screen is where we tell GravityView what fields we want to be shown for each team member profile. In this example, I’d like to show the person’s picture, name, title, and a little bit of information about the person.
I’m going to configure the View layout with the name as the Listing Title by clicking the Add Field button, then selecting the Name field. By doing this, the item will be dynamically replaced by each team member’s name on the page.
After adding each field to their respective layout zones, the configuration will look like this:

If you want more information about configuring a View, check out the GravityView documentation for Configuring Your First View.
When you preview the View, it’ll be nicely formatted with the form entry content you defined.
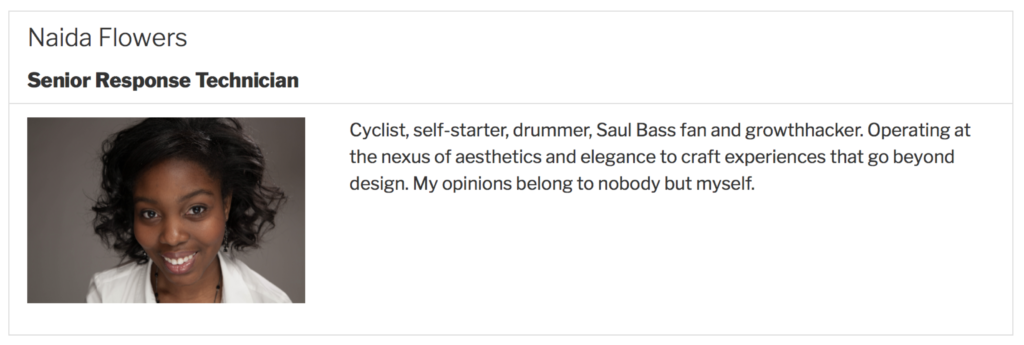
As you can see above, each profile item looks great and displays the exact content that was provided in your form.
Save Precious Time: Allow Entry Editing
If you run your own website, you know how horribly tedious editing things like user profile pages can be. It’s a chore that involves spending time on something that could be better spent elsewhere building your business.
To this point, I’ve displayed my co-worker profiles and they’re looking good…but I’m still on the hook to update them every time they want to change their profile picture or bio. That’s where User Edit comes in.
The Wrong Way
- A team member requests a change to their profile.
- They send you their change (Let’s face it, it’s probably not fully thought through and you’ll need to edit it).
- You log into your WordPress admin, search for the entry, and open it for editing.
- You re-write the content and save it.
- The updated page is sent to the team member (who changed their mind and now requests another change).
The Right Way
- A team member wants to change something on their profile.
- They log in and make the change from their own bio page on the front-end (and fully think it through, since they know it will be immediately live).
- The change is live and you didn’t have to lift a finger.
The Solution: Enabling Entry Editing
- To enable users editing their own entries, navigate to the bottom of the View you configured earlier and enable the Allow User Edit checkbox.

- Next, you’ll need to add the link in their bio. To do so, add one more field to the View called Edit Entry. This will generate a link that will take the user to a form pre-populated with their entry.
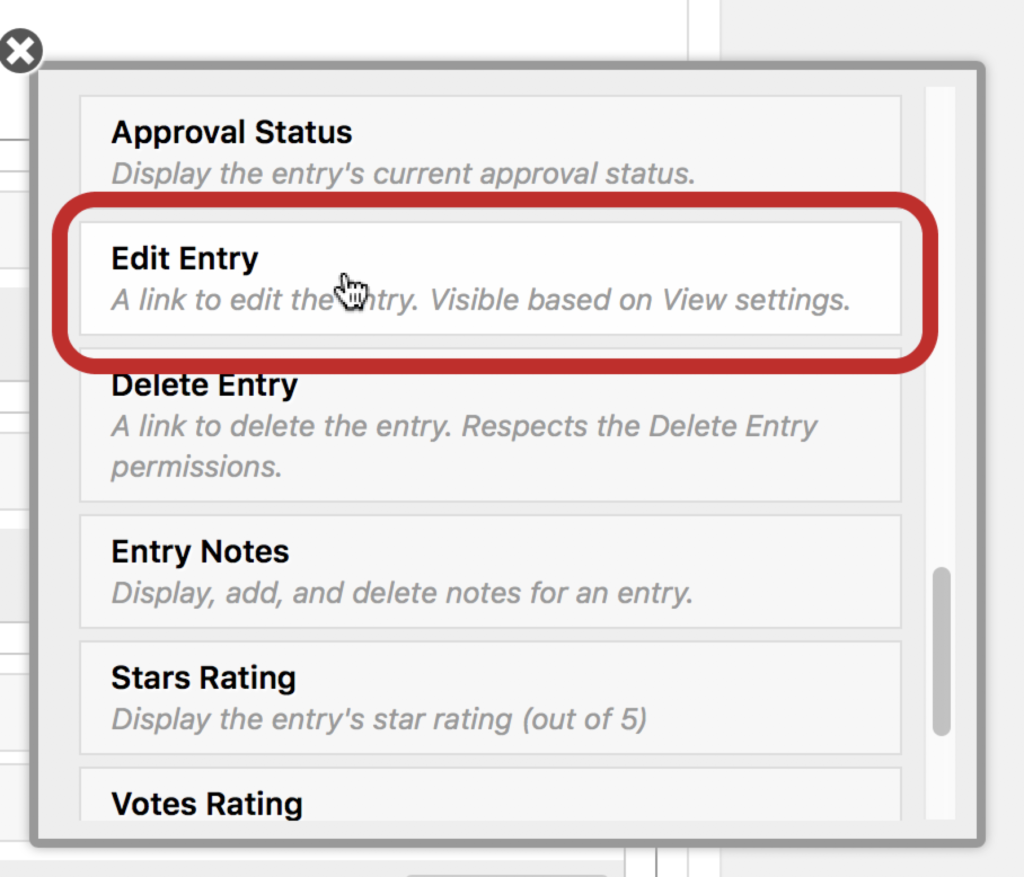
Don’t worry; the link will only be available to the user who submitted the form entry and will be completely invisible to anyone who doesn’t have access to edit it.
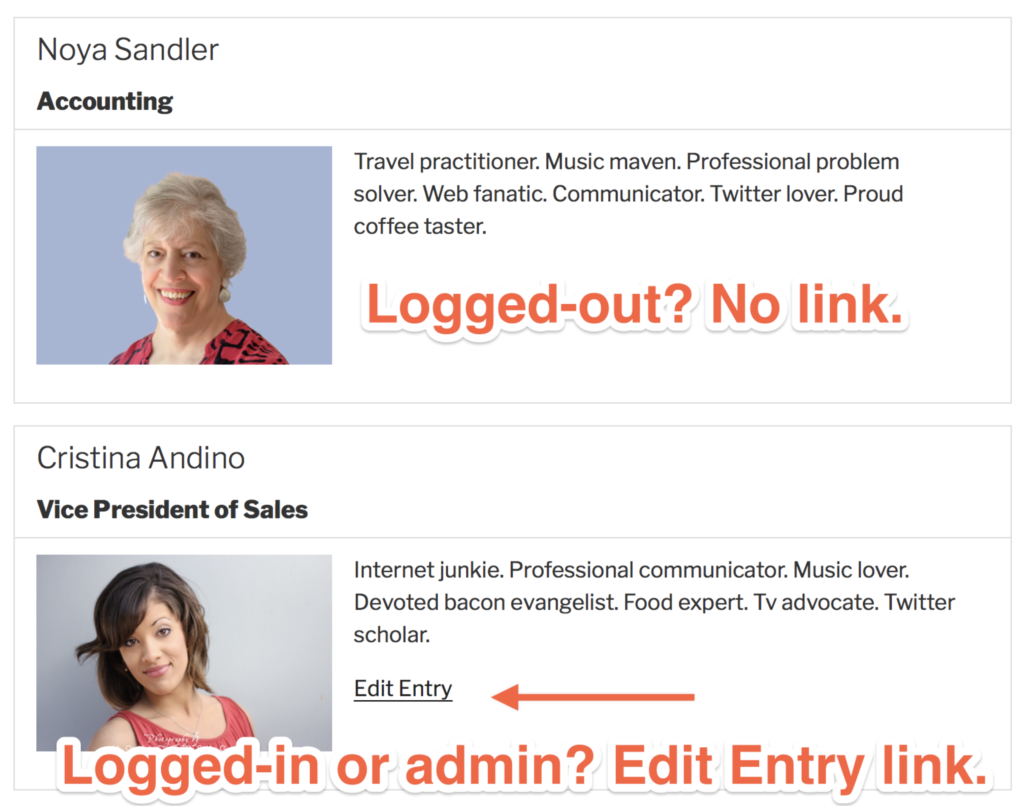
? The user who created the entry will see the link.
? Administrators will see the link.
❌ Visitors who are logged-out will see nothing!
Now, if Cristina, the VP of Sales in this imaginary Dream Team, decides to update her bio, she will see the Edit Entry link for her entry, but not for her other team members.
What happens when Cristina clicks the link? She’ll see the original form with the fields pre-populated and ready to be edited.

10 Minutes of Setup = Infinite Time Saved
If you’ve been following along the whole time, you’ve now created a form that team members can submit their profile information to, displayed those submitted profiles on the front-end of your website, and allowed them to edit their own entries.
Pleasantly surprised? Yeah, we thought so.
Now all you need to do is figure out what to do with all the time that you saved. We suggest bragging to everyone you know about how awesome your team member profile page is. Whether or not you reveal the secret to how easy it was is entirely up to you ?
If you have any questions (or just to brag about how cool your team profile page is), please leave a comment below, I’m happy to answer them.